
Set up webhooks
Webhooks send events from your project to a URL you specify in real time. Use them to integrate Repsona with external systems.
| Who can use it | Available on |
|---|---|
| Owner, Admin | All |
Add a webhook
- Click the gear icon ("Settings") on the right side of the project menu at the top of the screen.

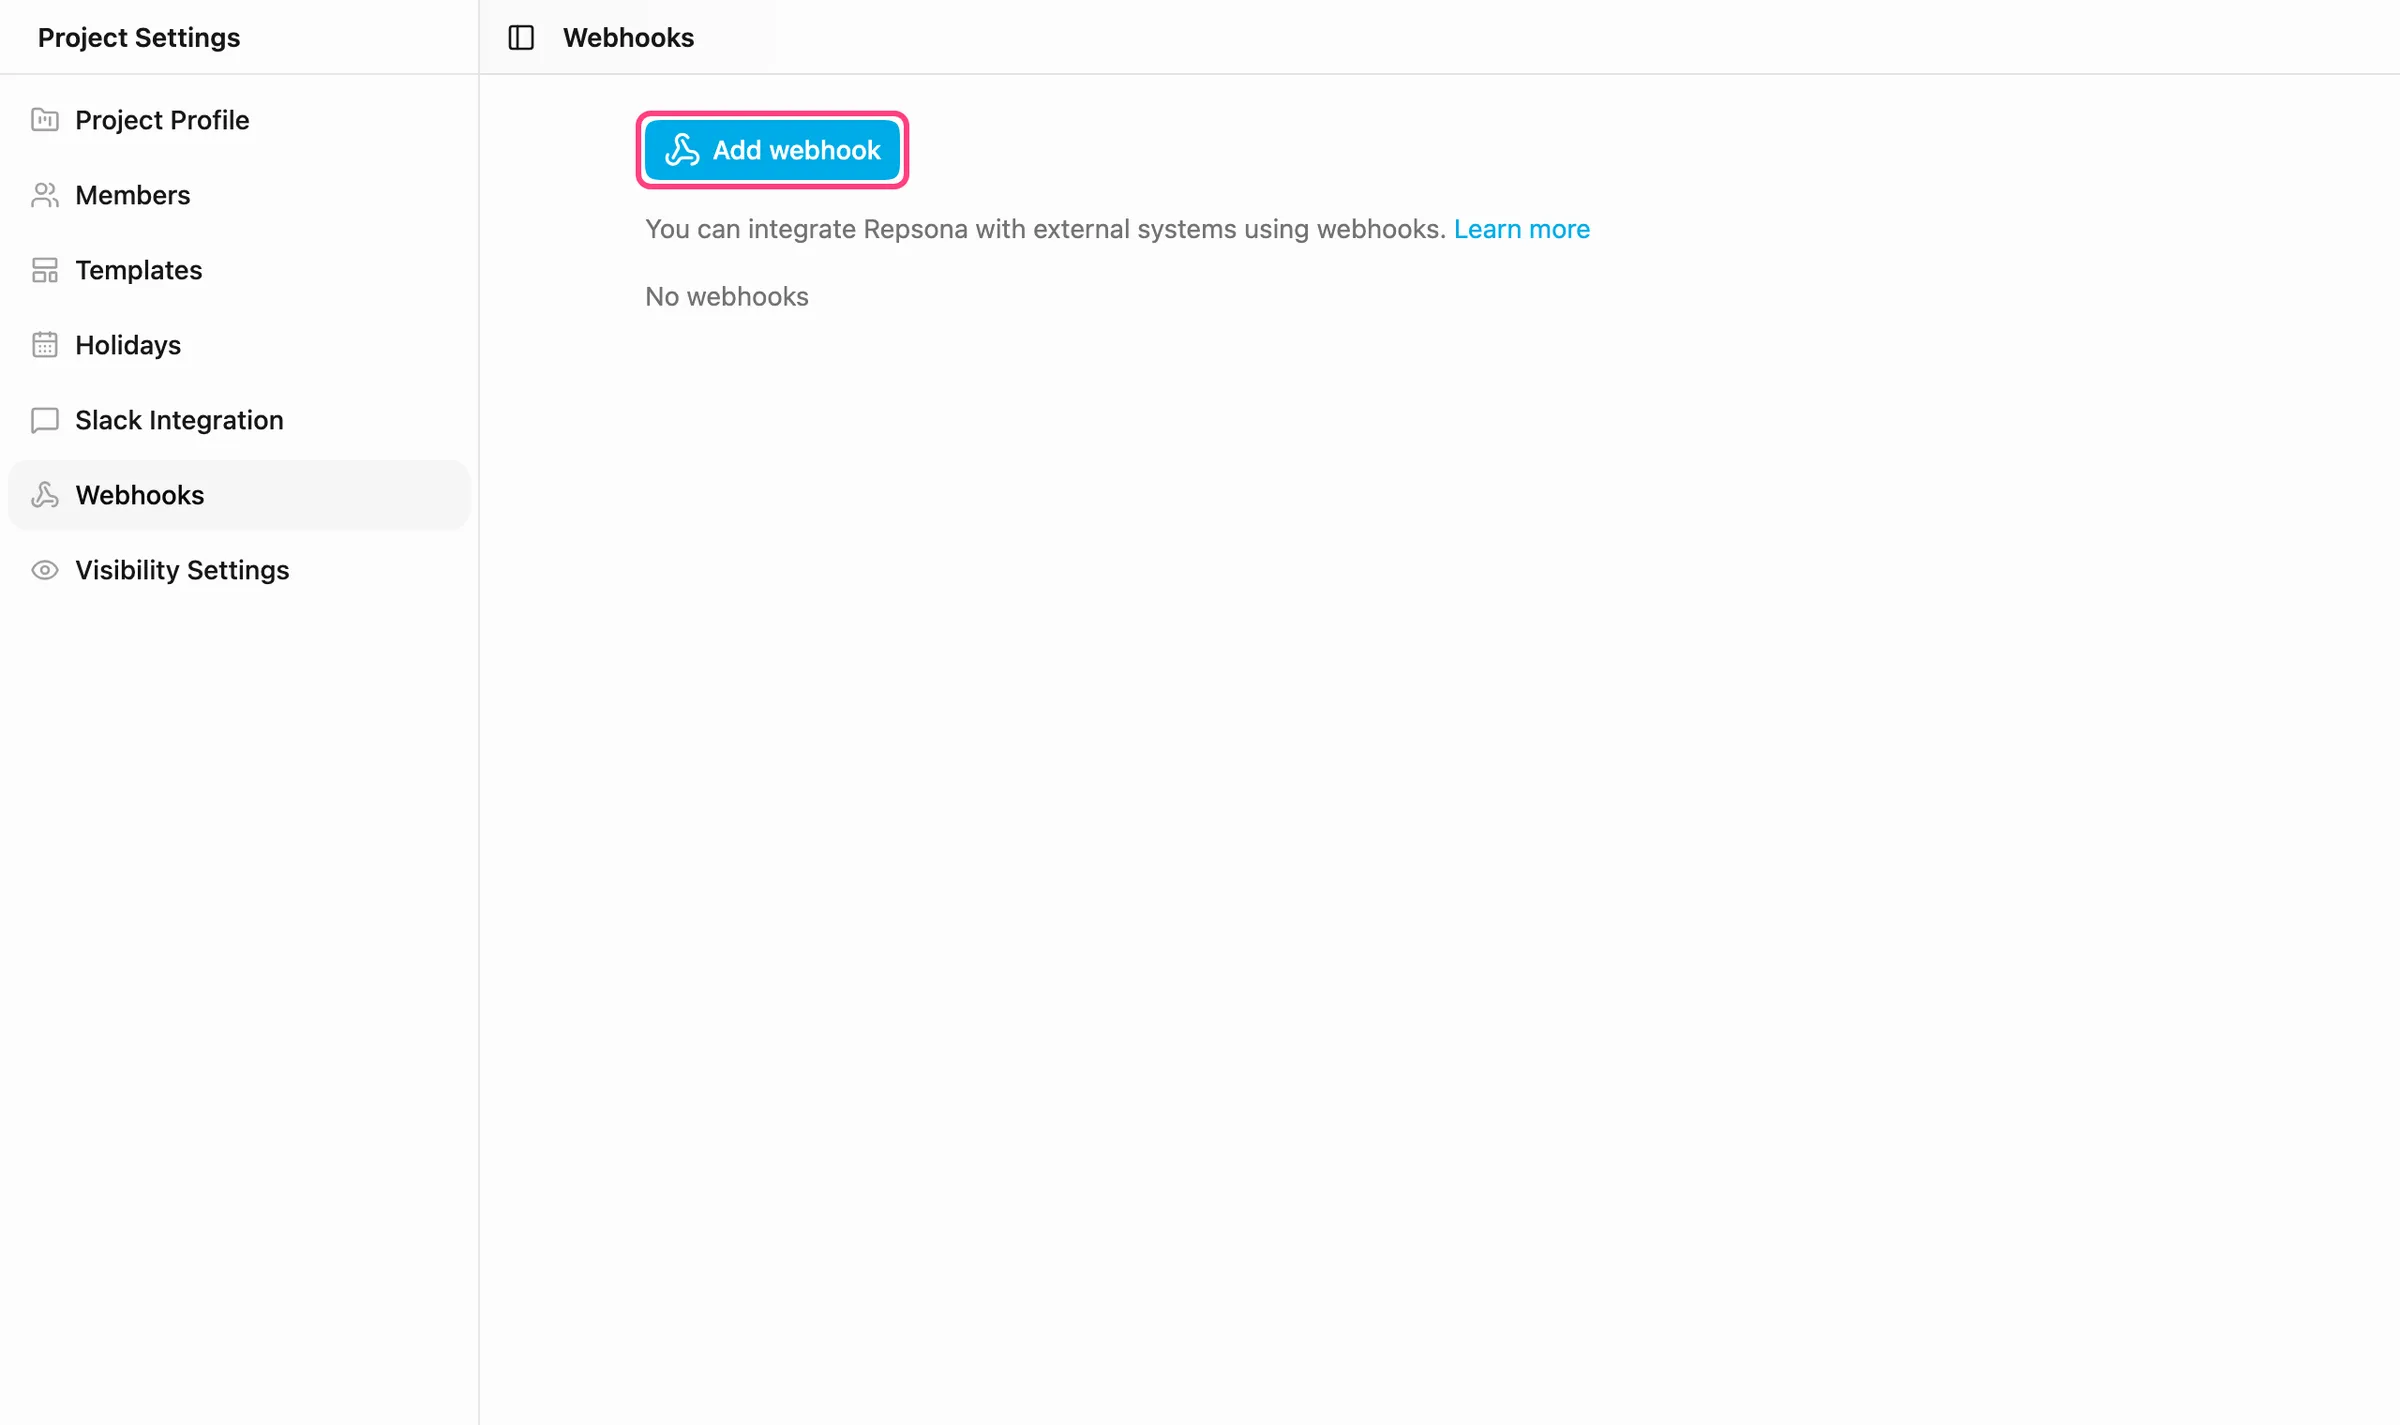
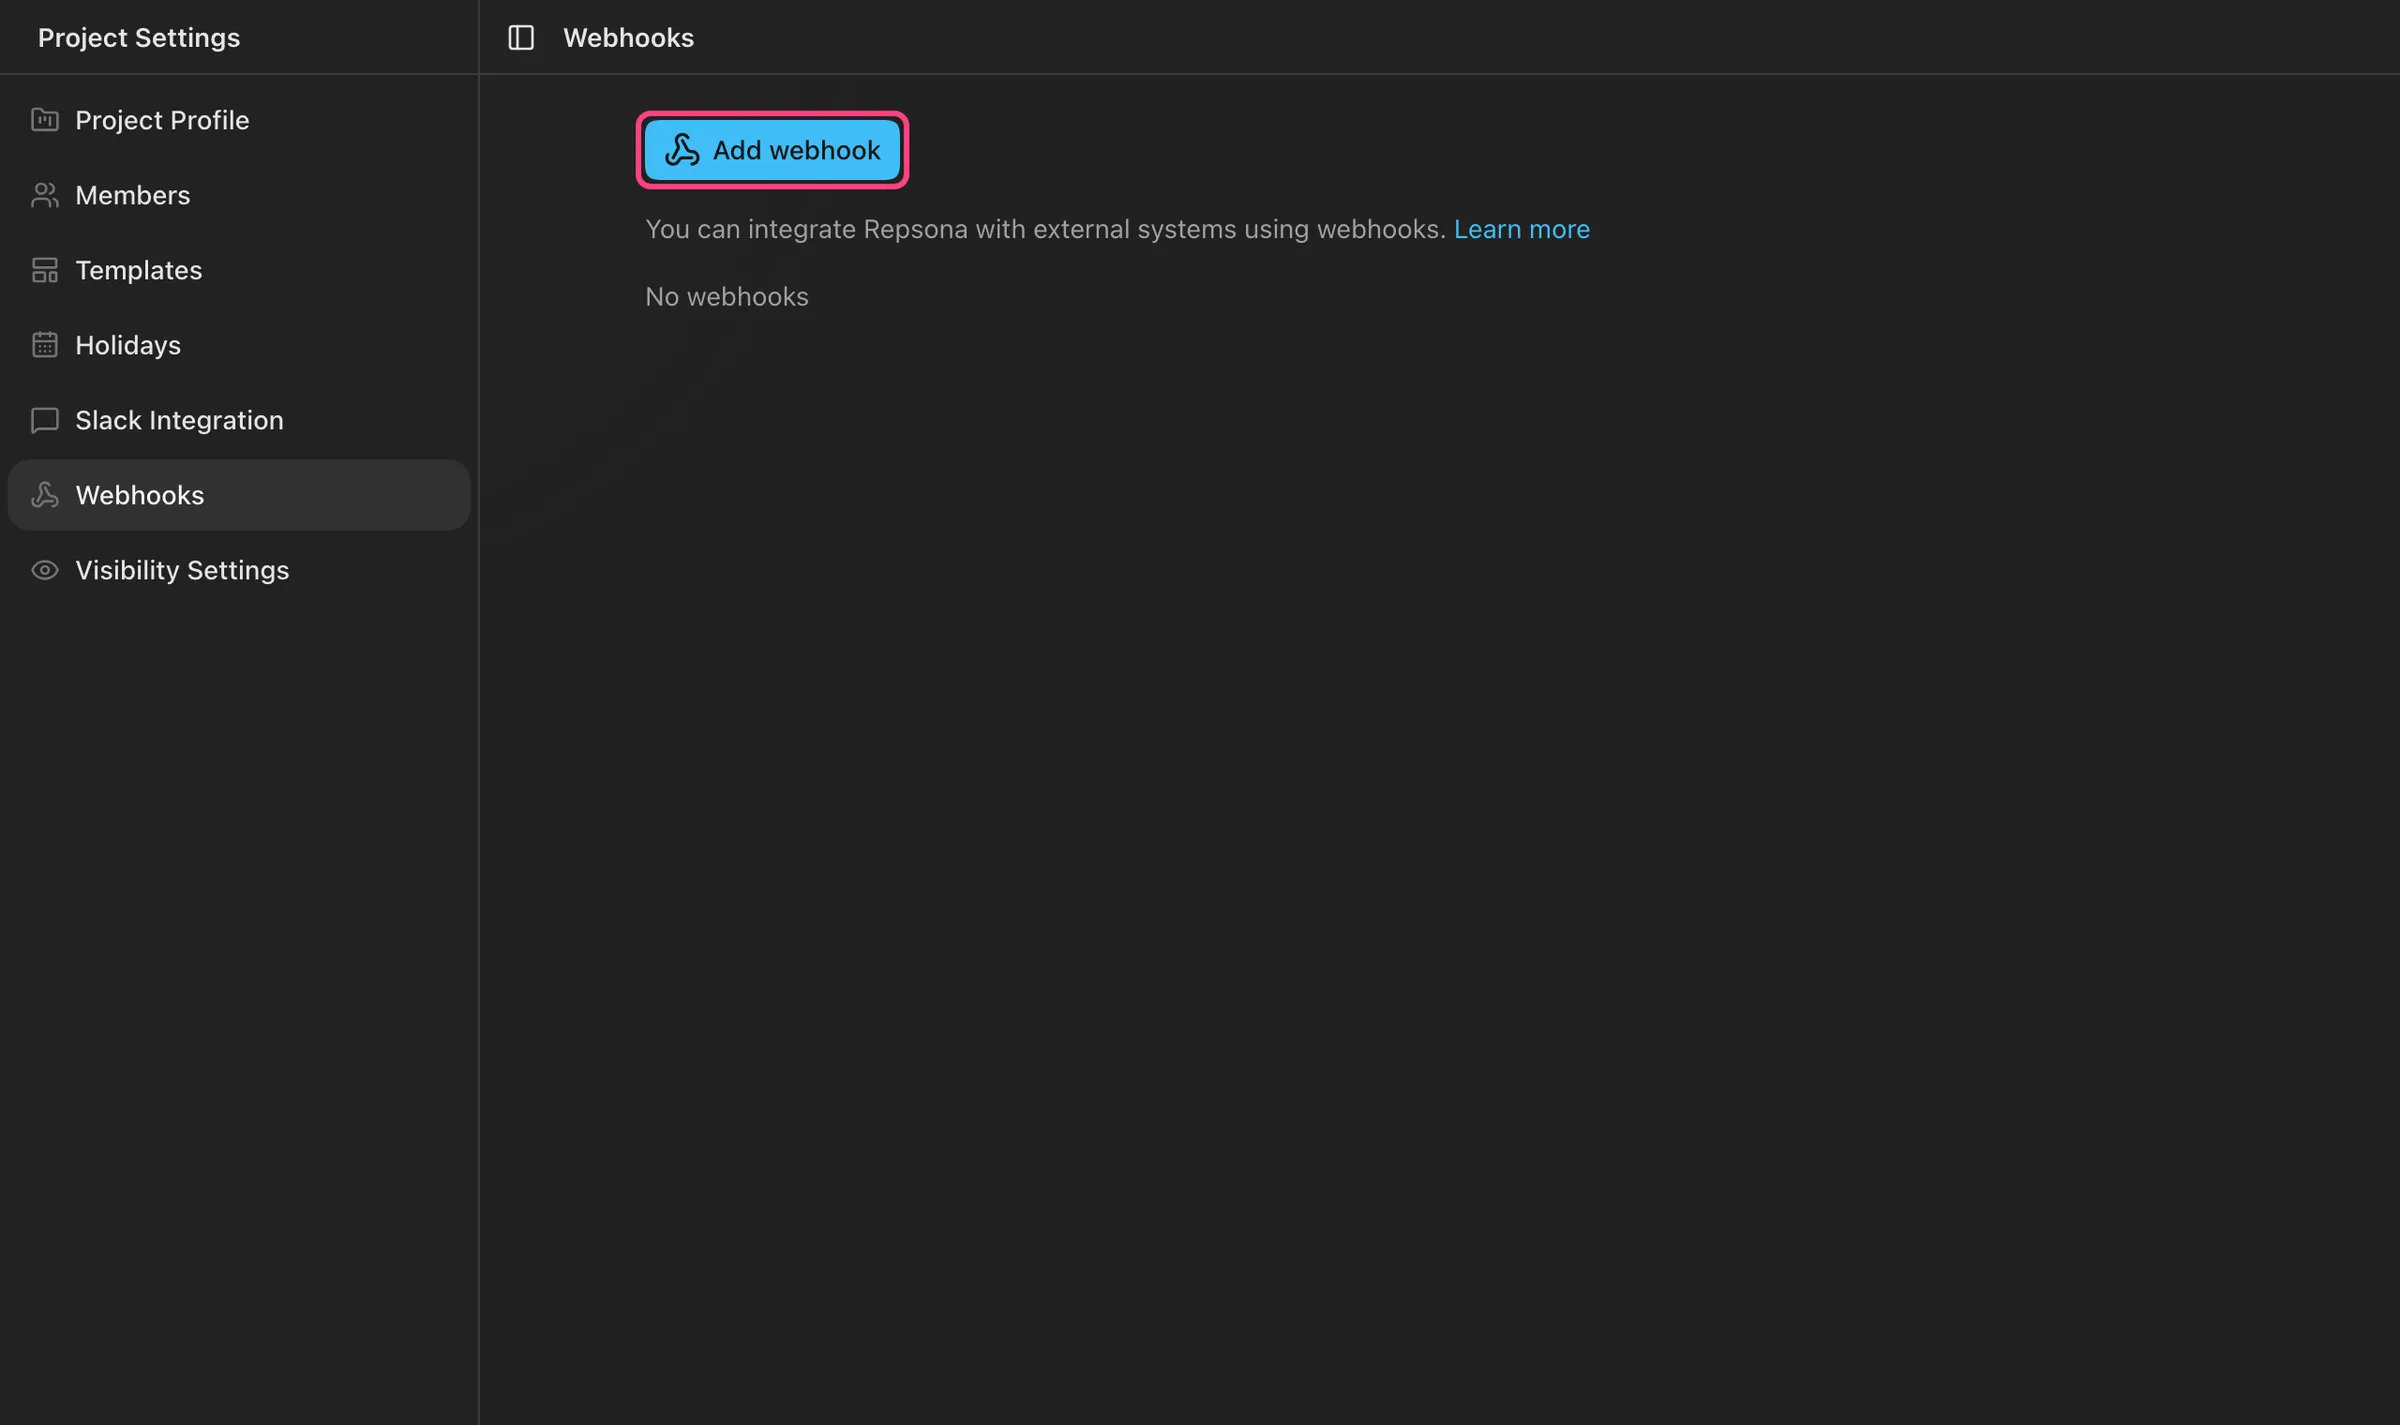
- Open "Webhooks" in the left menu.
- Click "Add webhook".
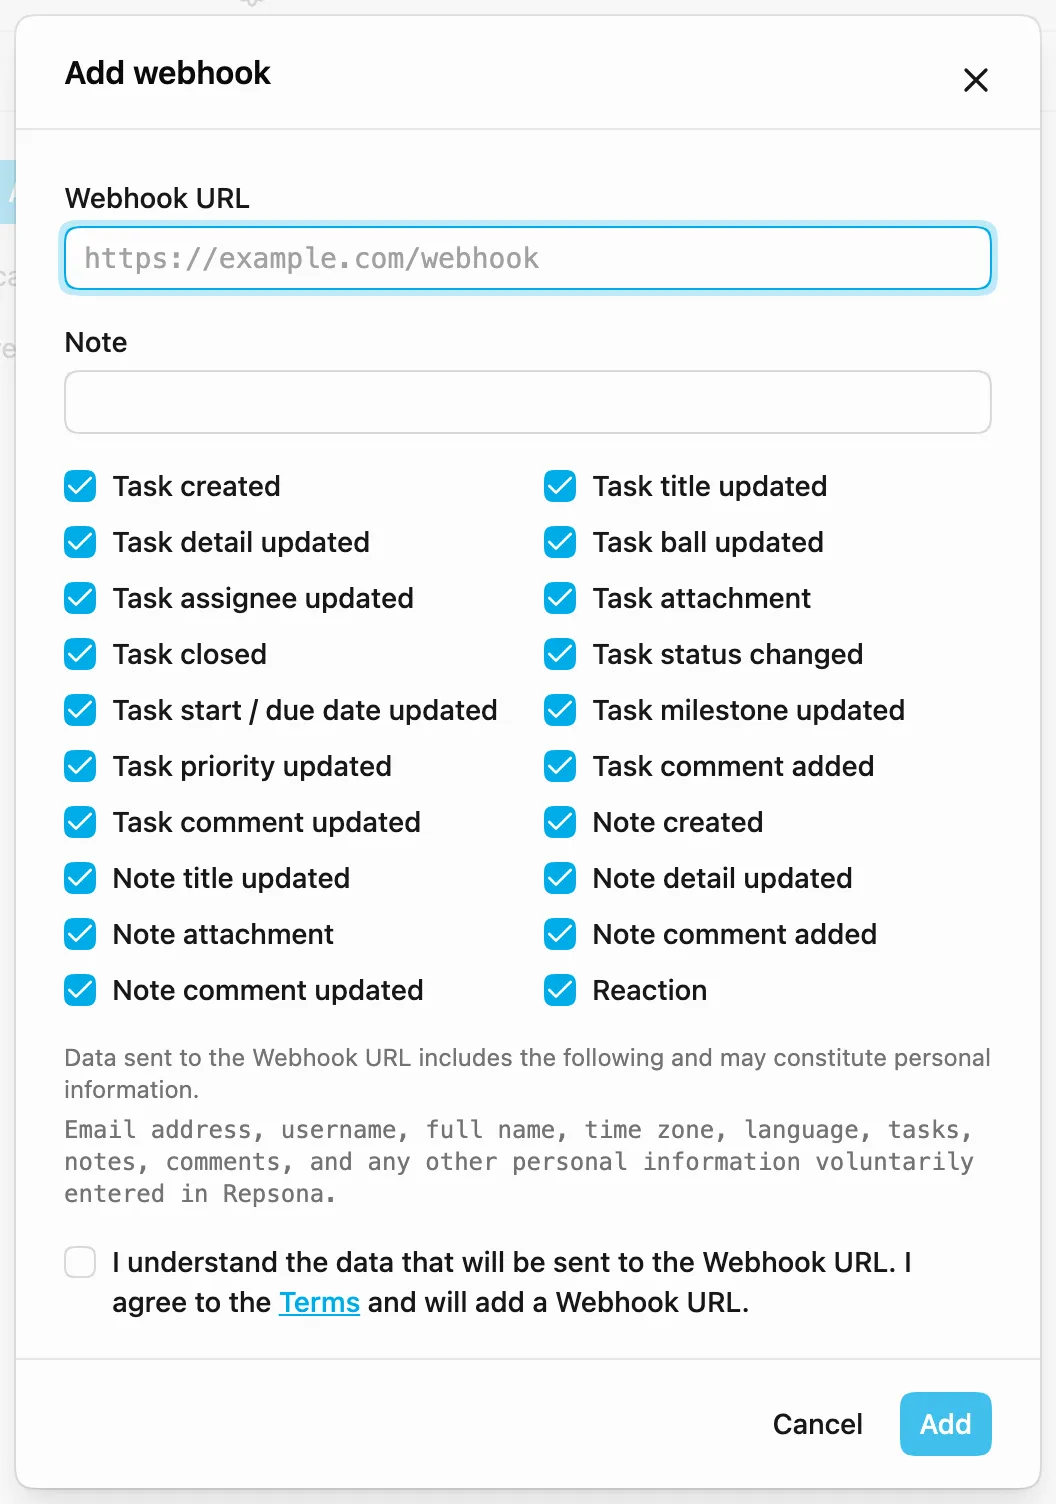
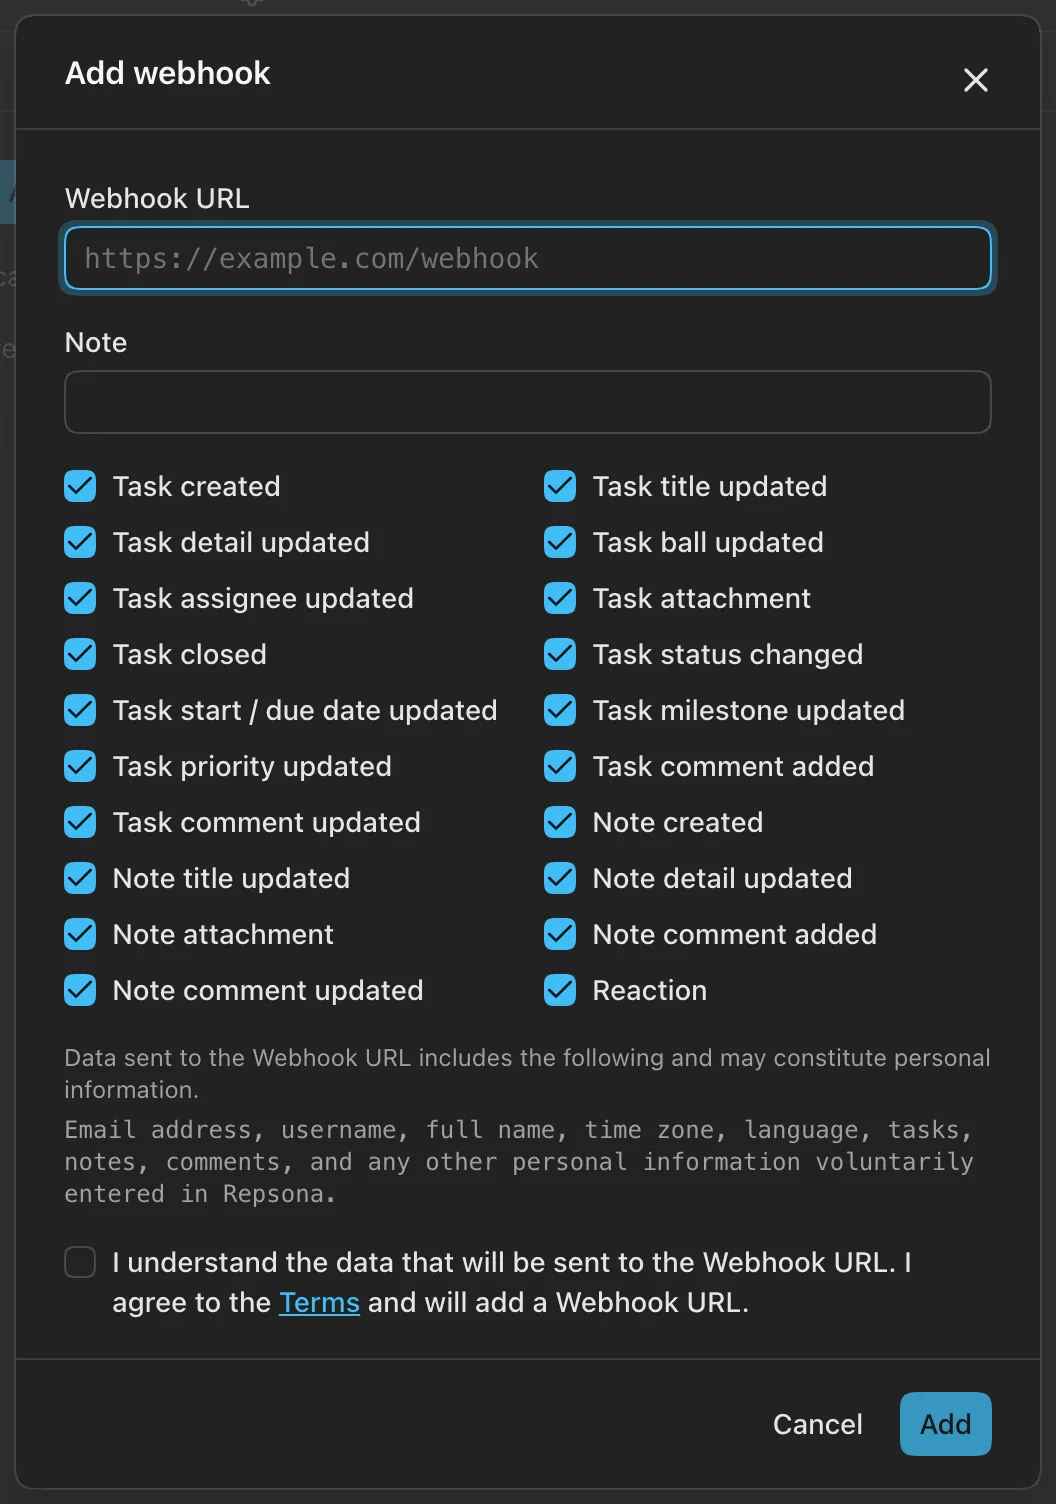
- Enter the destination URL in "Webhook URL". It must start with
http://orhttps://. - Enter a "Note" if you like.
- Check the events you want to send.
- Read the explanation of the data that is sent, check the box, and click "Add".

Events you can send
You can choose from tasks (created; title, detail, ball, assignee, attachment, status, start / due date, milestone, and priority updated; closed), task comments (added, updated), notes (created; title, detail, and attachment updated), note comments (added, updated), and reactions. All events are checked when you add a webhook.
Manage webhooks
Each webhook appears as a card.
- Webhook URL, Note, events: change them and click "Update" to save.
- Signing secret: click "Show" to reveal it and "Copy" to copy it. The receiving side uses it to verify that a request came from Repsona.
- Send test data: sends test data to the URL and shows the response status code. Use it to check the receiving side.
- Logs: "Webhook logs" shows the date and time and the result status of each delivery. Click "Details" to see the data that was sent. Logs keep the latest 100 entries per webhook.
- Delete: click "Delete", then confirm with "Delete".
For the payload format and how to verify signatures, see the Webhook API documentation.
Notes
Data sent to a webhook URL may include personal information entered in Repsona, such as email addresses, usernames, full names, tasks, notes, and comments. Only set up destinations you trust.
Was this page helpful?