
Set the project’s product concept image
This page explains how to set the project’s product concept image in Repsona.
After you set the product concept image, it appears on the project home screen. Choose an image that lets project members and newcomers grasp the project’s overview and purpose at a glance.
| Who can use it | Available on |
|---|---|
| Owner, Admin | All |
Set the product concept image
- Click the gear icon ("Settings") on the right side of the project menu at the top of the screen.

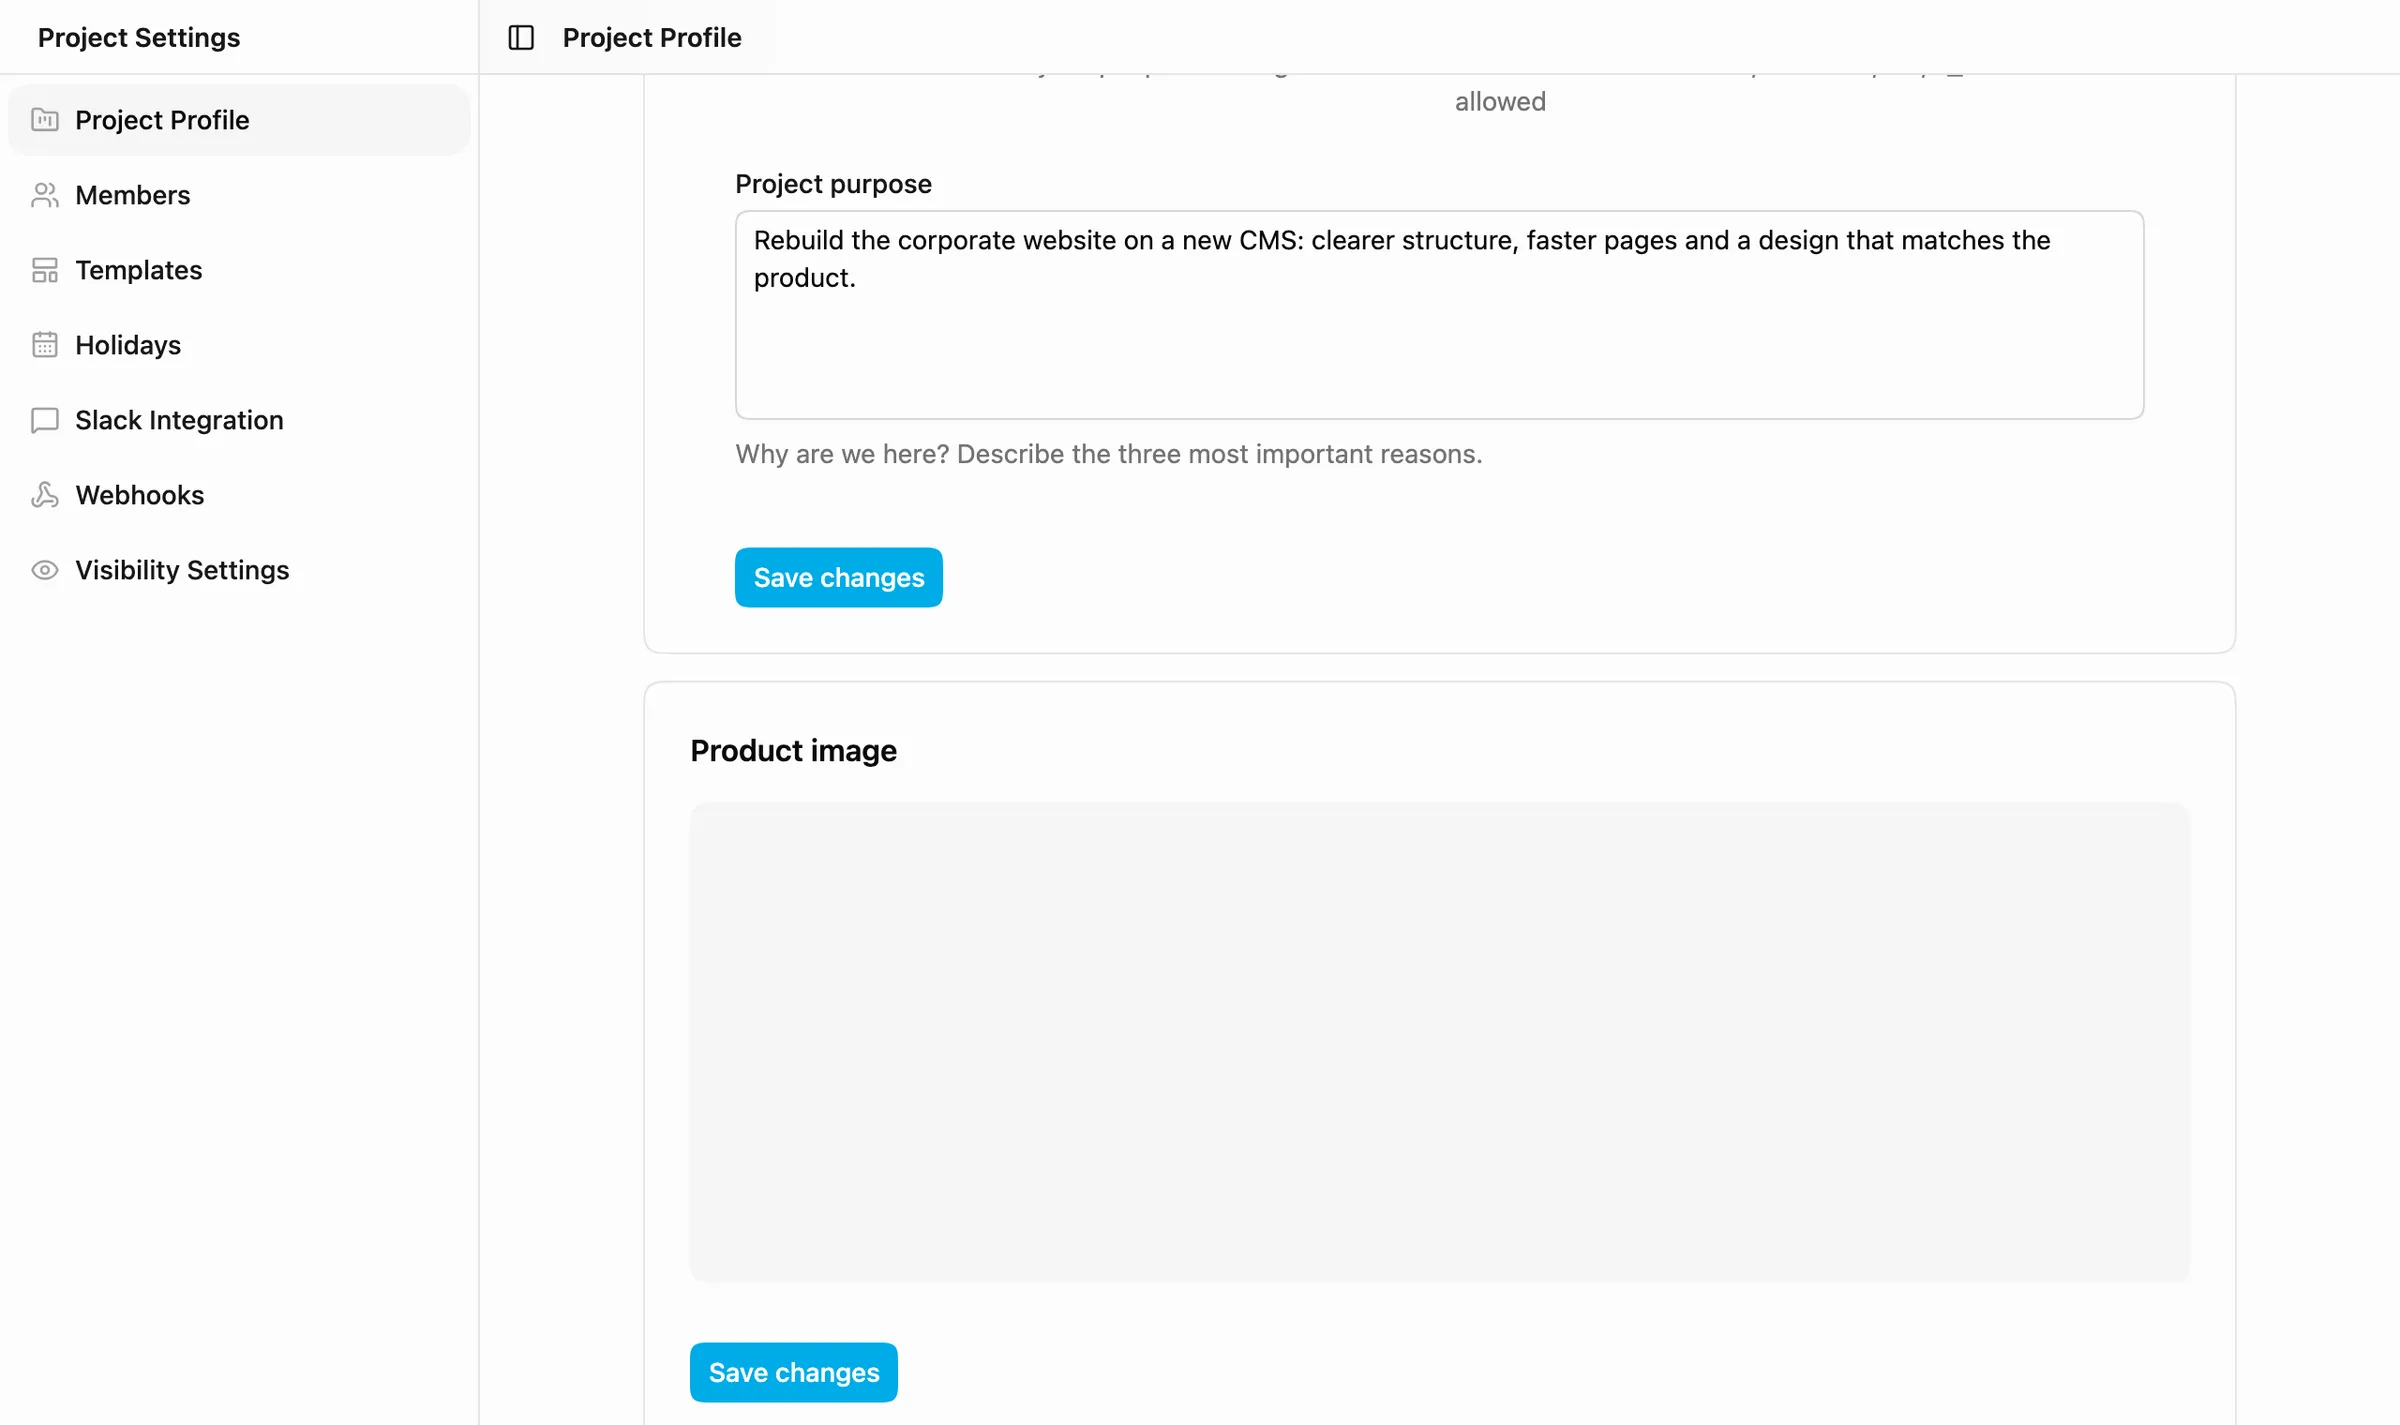
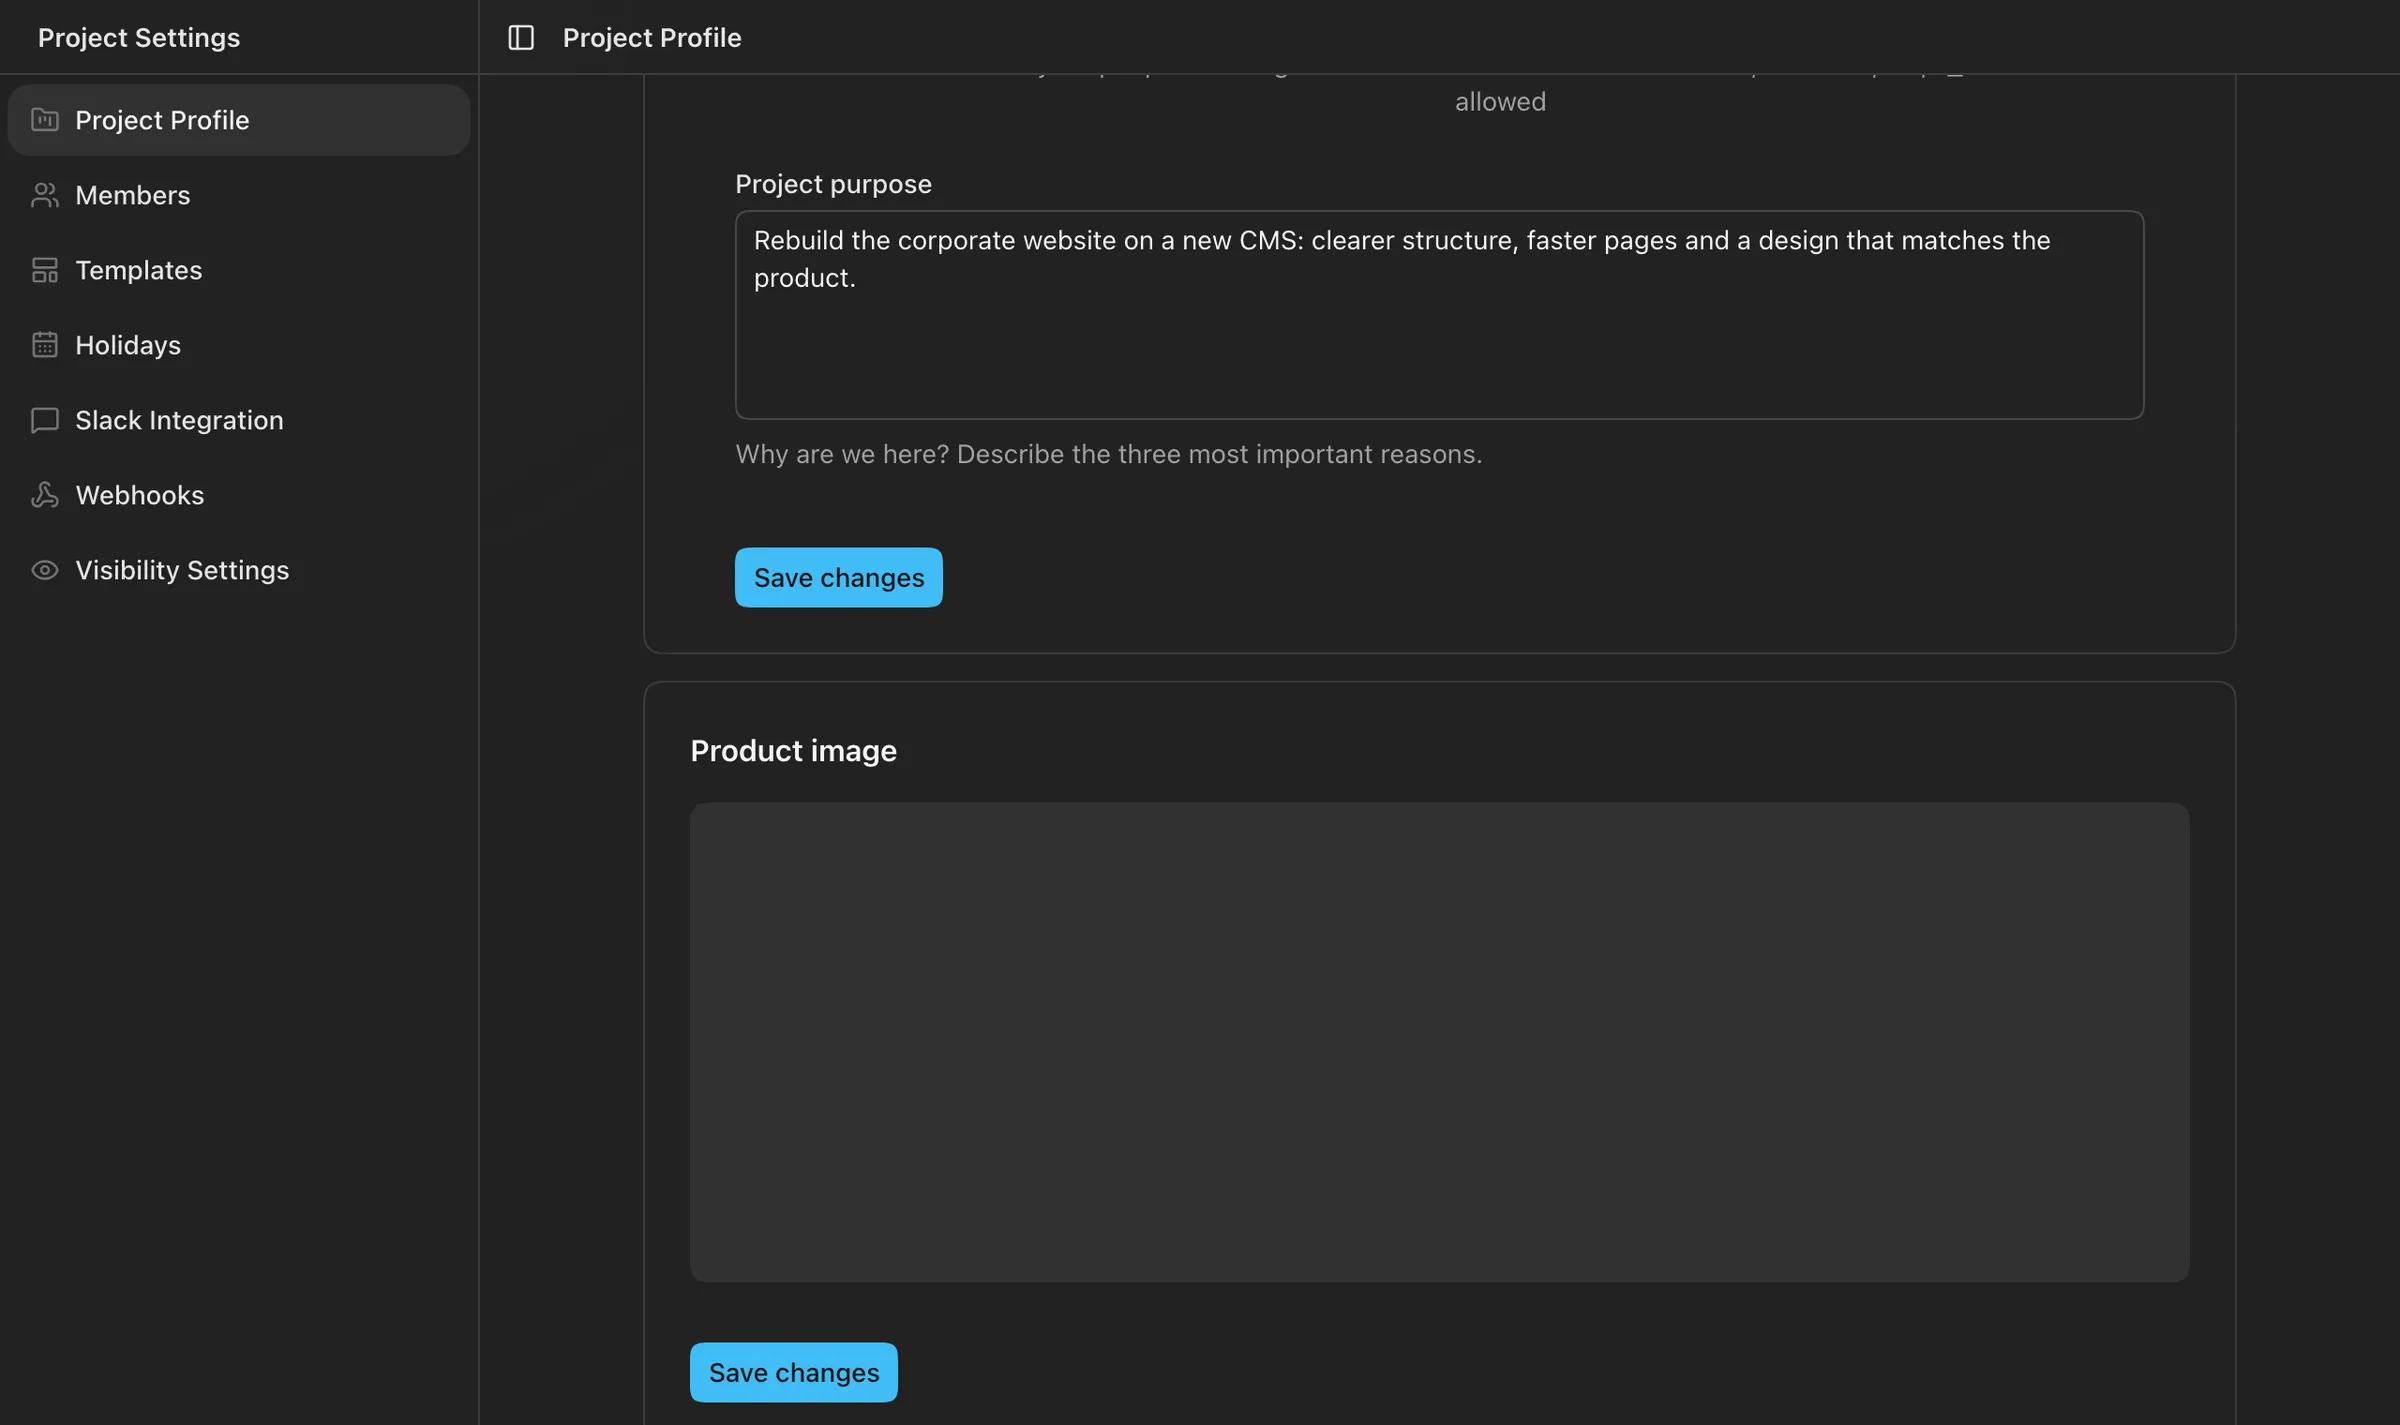
- Open "Project Profile" in the left menu.
- Scroll down to "Product image" and click the image area to choose an image (hovering over it shows "Change image"). You can also drag and drop.
- Adjust the position and zoom, then click "Apply".
- Click "Save changes" under "Product image".

To remove the image, click the "Remove image" button at its upper right and save.
Was this page helpful?